 code前端网
Docker 使用设置:安装、启动和卸载,创建第一个 docker 容器
作者:大刚测试与开发实践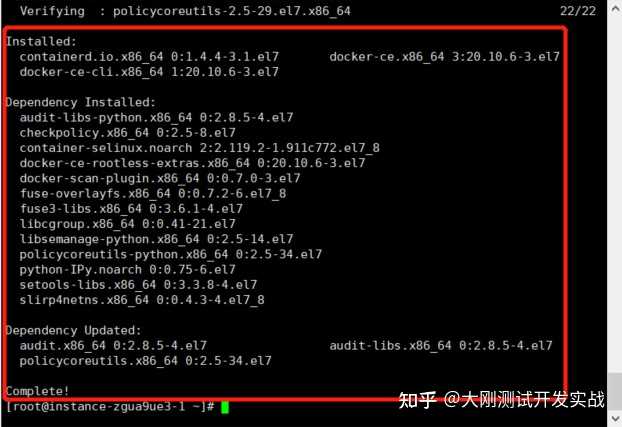


1. Docker 安装和启动
1.安装docker的一些方法
1)安装最新版本的docker
①卸载第一个docker的旧版本
yum remove docker \
                  docker-client \
                  docker-client-latest \
                  docker-common \
                  docker-latest \
                  docker-latest-logrotate \
                  docker-logrotate \
                  docker-engine
②指定Docker下载源(可选,适合第一次安装)
yum install -y yum-utils
yum-config-manager --add-repo https://download.docker.com/linux/centos/docker-ce.repo
③安装Docker(默认安装最新版本)
yum install -y docker-ce docker-ce-cli containerd.io④验证是否安装成功
docker version2)安装docker版本
yum list docker-ce --showduplicates | sort -r  # 查看所有可用版本
yum install docker-ce-<VERSION_STRING> docker-ce-cli-<VERSION_STRING> containerd.io  # 安装指定版本
3)通过脚本一键安装docker
脚本内容为如下:
#!/bin/bash
echo "set default docker install repo"
yum install -y yum-utils
yum-config-manager --add-repo http://mirrors.aliyun.com/docker-ce/linux/centos/docker-ce.repo
echo "install docker ..."
yum install -y docker-ce docker-ce-cli containerd.io
systemctl start docker
systemctl status docker
2。启动docker
systemctl start docker  # 启动服务
systemctl status docker  # 查看状态
systemctl stop docker  # 停止服务
systemctl restart docker  # 重启服务
2. 创建第一个docker容器
1. 创建容器
按照国际惯例,首先打开hello-world容器
docker run hello-world

# 如果网络等一切正常的话,会出现如下提示,表示容器已经创建成功
Unable to find image 'hello-world:latest' locally
latest: Pulling from library/hello-world
2db29710123e: Pull complete
Digest: sha256:18a657d0cc1c7d0678a3fbea8b7eb4918bba25968d3e1b0adebfa71caddbc346
Status: Downloaded newer image for hello-world:latest

Hello from Docker!
This message shows that your installation appears to be working correctly.

To generate this message, Docker took the following steps:
 1. The Docker client contacted the Docker daemon.
 2. The Docker daemon pulled the "hello-world" image from the Docker Hub.
    (amd64)
 3. The Docker daemon created a new container from that image which runs the
    executable that produces the output you are currently reading.
 4. The Docker daemon streamed that output to the Docker client, which sent it
    to your terminal.

To try something more ambitious, you can run an Ubuntu container with:
 $ docker run -it ubuntu bash

Share images, automate workflows, and more with a free Docker ID:
 https://hub.docker.com/

For more examples and ideas, visit:
 https://docs.docker.com/get-started/
2. 查看容器
docker ps -a  # 查看所有容器

# 创建成功,容器列表中就会有hello-world的容器,但名字不是hello-world,因为我们在运行容器时并未指定名称
CONTAINER ID   IMAGE         COMMAND    CREATED          STATUS                      PORTS     NAMES
a07f1a8ea1a4   hello-world   "/hello"   21 seconds ago   Exited (0) 20 seconds ago             adoring_chatterjee
3. 卸载docker 3.
1. 按照常规方式卸载
① 停止 docker 服务
systemctl stop docker② 搜索已安装的 docker 安装包
yum list installed | grep docker
rpm -qa | grep docker
yum -y remove docker-ce.x86_64
yum -y remove docker-ce-cli.x86_64
yum -y remove containerd.io.x86_64
③ 删除所有相关安装包 2.卸载脚本
所谓使用脚本进行安装和卸载,通俗理解就是将上面几个操作步骤的命令放在脚本中,批量执行。内容如下:
#!/bin/bash
systemctl stop docker
yum -y remove docker-ce.x86_64
yum -y remove docker-ce-cli.x86_64
yum -y remove containerd.io.x86_64
rm -rf /var/lib/docker
rm -rf /etc/docker/daemon.json
版权声明
本文仅代表作者观点,不代表Code前端网立场。
本文系作者Code前端网发表,如需转载,请注明页面地址。
