 code前端网
CentOS7创建Python3+JupyterNotebook远程访问环境
1。配置准备:
- Oracle云服务帐号
- 云主机一台:CentOS7操作系统
- Xshell连接
- Chrome浏览器
2.安装步骤
- 创建云主机
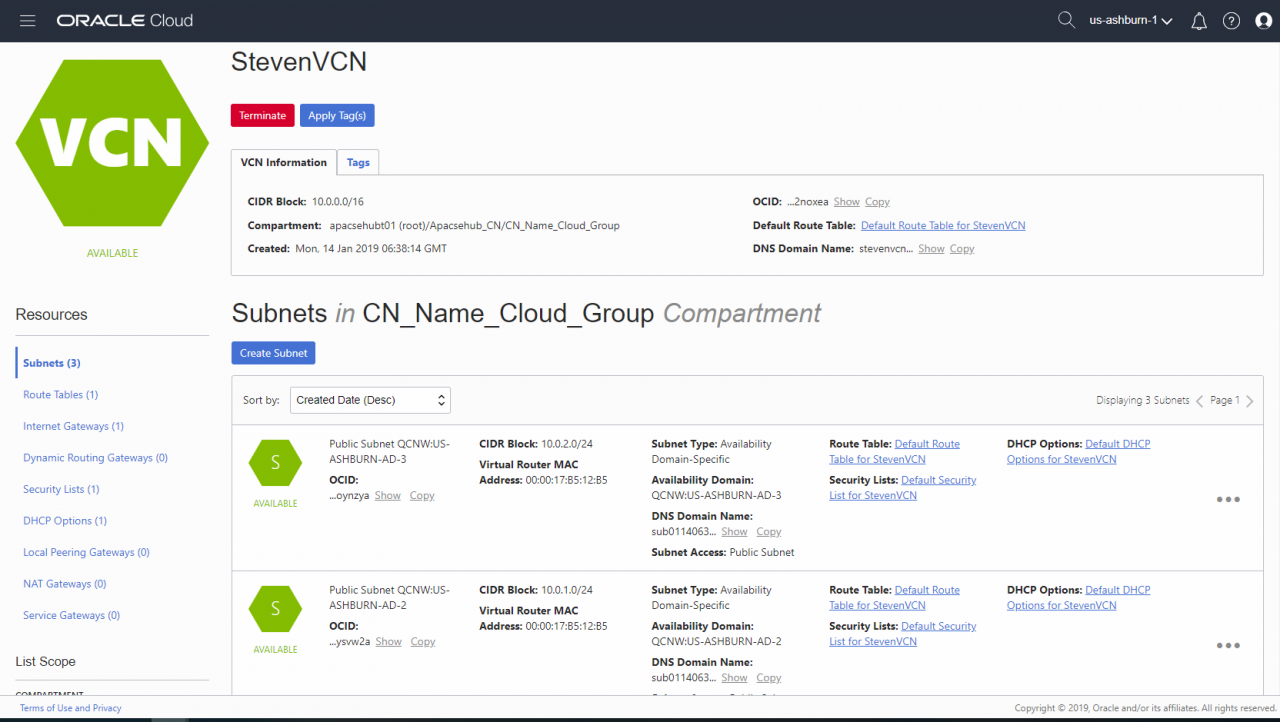
- 创建虚拟 OCI VCN
创建新的 VCN:
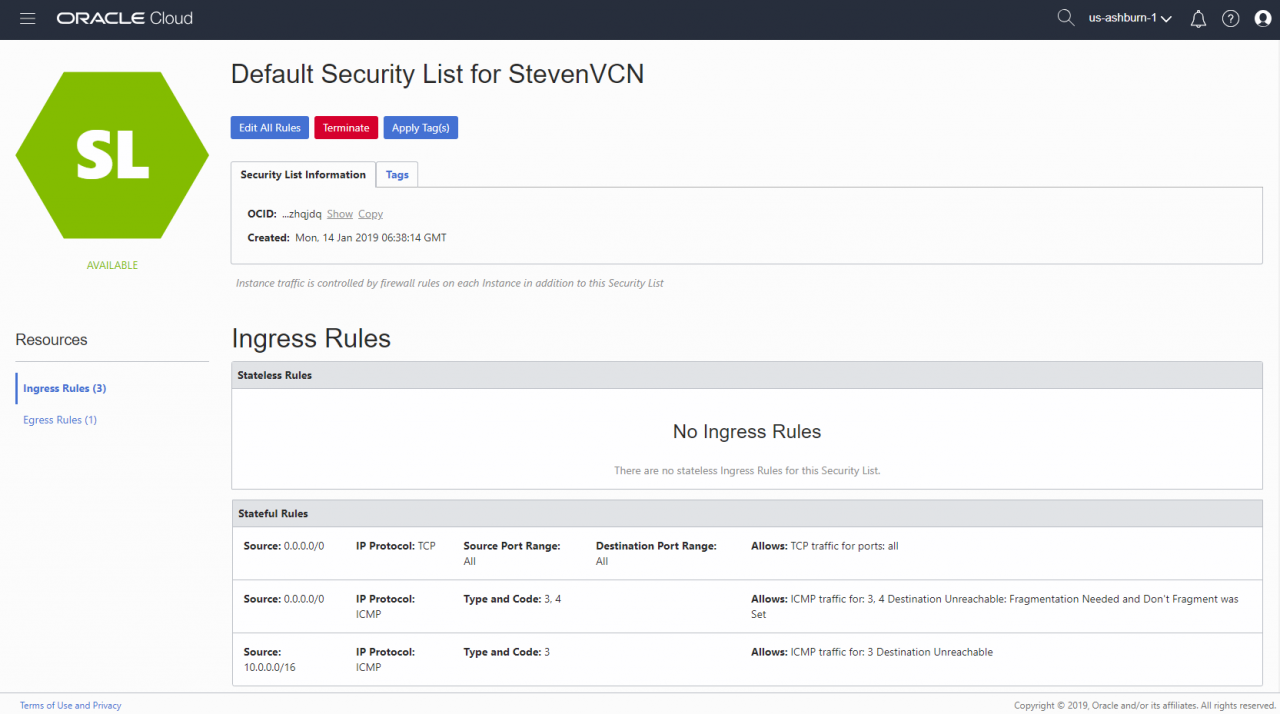
 配置安全列表(只需打开访问端口):
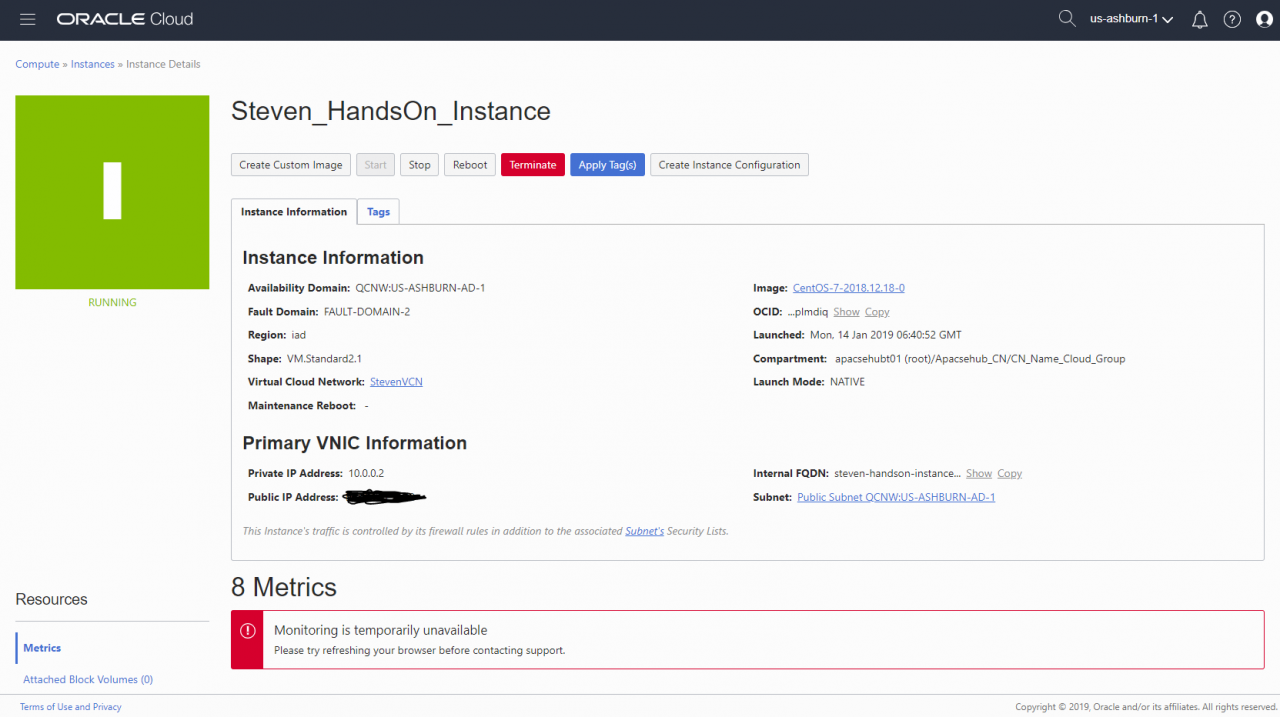
- 创建计算实例
- 通过 Xshell
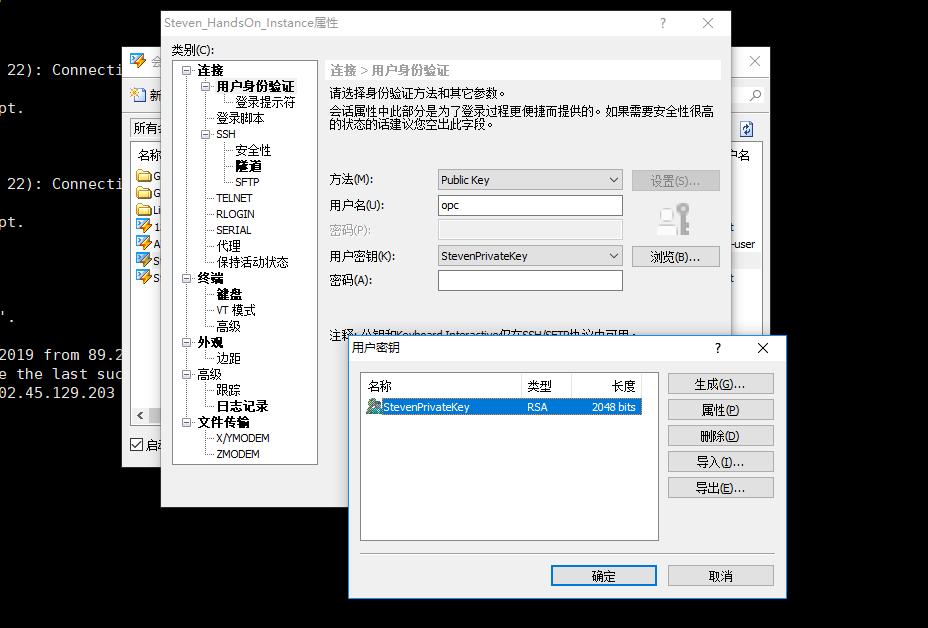 连接到该实例,并编辑配置文件以允许 root 用户登录。 ♷ 3.安装Py安装目录下载Python3.6.5安装包并将压缩包解压到对应目录
1 mkdir /opt/Python3
2 cd /opt/Python3/
3 wget https://www.python.org/ftp/python/3.6.5/Python-3.6.5.tgz
4 tar -xvf Python-3.6.5.tgz
5 ls -l

安装Python3依赖包

 1 yum -y install zlib zlib-devel
 2 yum -y install bzip2 bzip2-devel
 3 yum -y install ncurses ncurses-devel
 4 yum -y install readline readline-devel
 5 yum -y install openssl openssl-devel
 6 yum -y install openssl-static
 7 yum -y install xz lzma xz-devel
 8 yum -y install sqlite sqlite-devel
 9 yum -y install gdbm gdbm-devel
10 yum -y install tk tk-devel
11 yum -y install gcc
配置Python安装环境并编译安装Python3
1 cd Python-3.6.5/
2 ./configure --with-ssl --prefix=/opt/Python3
3 make
4 make install
配置Python3变量 # bash_profile
#获取别名和函数
if [ -f ~/.bashrc ];然后
。 ~/.bashrc
fi# 用户特定的环境和启动器
export python=/opt/Python3/binPPATH=$PATH:$HOME/binth:/opt/ export PATH
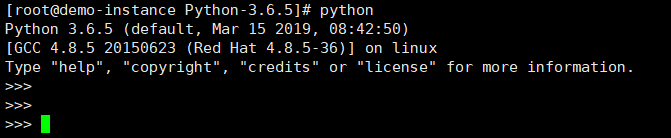
编辑关联
1 mv /usr/bin/python /usr/bin/python_bak
2 ln -s /opt/Python3/bin/python3 /usr/bin/python
3 ln -s /opt/Python3/bin/python3 /usr/bin/python3
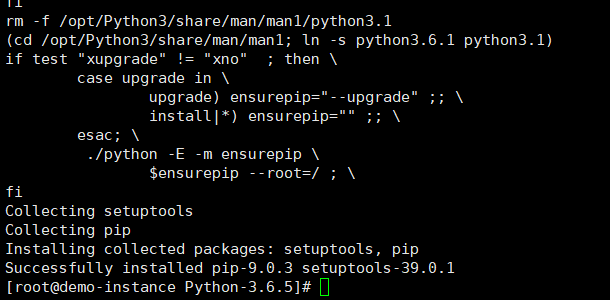
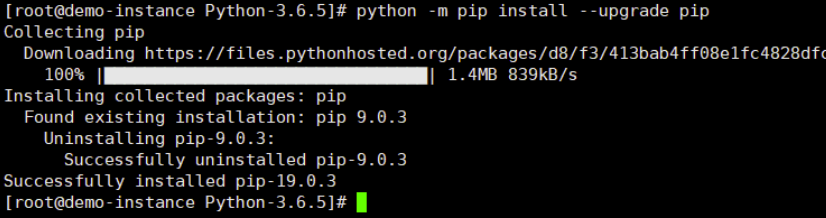
更新pip
1 python -m pip install --upgrade pip
- 安装Jupyter Notebook
通过pip启动Jupyter Notebook服务器通过pip安装Jupyter Notebook安装成功1 [root@demo-instance Python-3.6.5]# jupyter notebook --allow-root 2 [I 09:03:32.473 NotebookApp] Serving notebooks from local directory: /opt/Python3/Python-3.6.5 3 [I 09:03:32.473 NotebookApp] The Jupyter Notebook is running at: 4 [I 09:03:32.473 NotebookApp] http://localhost:8888/?token=9fb8cc50c87a1f5a35c2d57d0722dc1c0f58f5be892a6532 5 [I 09:03:32.473 NotebookApp] Use Control-C to stop this server and shut down all kernels (twice to skip confirmation). 6 [W 09:03:32.479 NotebookApp] No web browser found: could not locate runnable browser. 7 [C 09:03:32.479 NotebookApp] 8 9 To access the notebook, open this file in a browser: 10 file:///root/.local/share/jupyter/runtime/nbserver-24125-open.html 11 Or copy and paste one of these URLs: 12 http://localhost:8888/?token=9fb8cc50c87a1f5a35c2d57d0722dc1c0f58f5be892a6532
至此Jupyter Notebook已成功安装。
- 配置外部访问
禁用防火墙 (CentOS7)1 systemctl stop firewalld.service 2 systemctl disable firewalld.service
生成 Jupyter Notebook 配置文件
1 jupyter notebook --generate-config

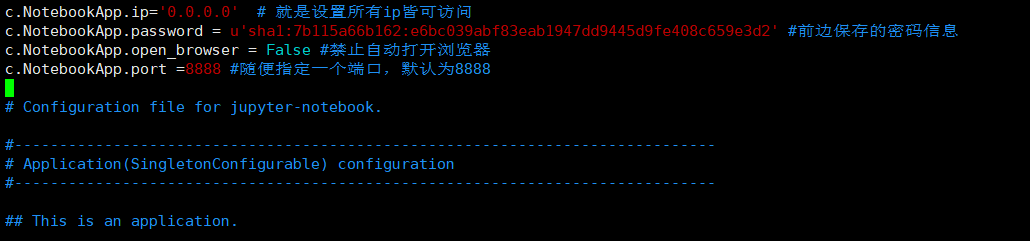
通过 ipython ❙❙ 登录:❀ipython ♶❀ 编辑生成的配置文件 /root/ 。朱皮特 / jupyter_notebook_config.py,在文件头添加如下配置信息:
c.NotebookApp.ip='0.0.0.0'  # 就是设置所有ip皆可访问
c.NotebookApp.password = u'sha1:7b115a66b162:e6bc039abf83eab1947dd9445d9fe408c659e3d2' #前边保存的密码信息
c.NotebookApp.open_browser = False #禁止自动打开浏览器
c.NotebookApp.port =8888 #随便指定一个端口,默认为8888
首先重启机器,然后使用命令
启动jupyter节点❀通过browser: http://ipaddress :8888/
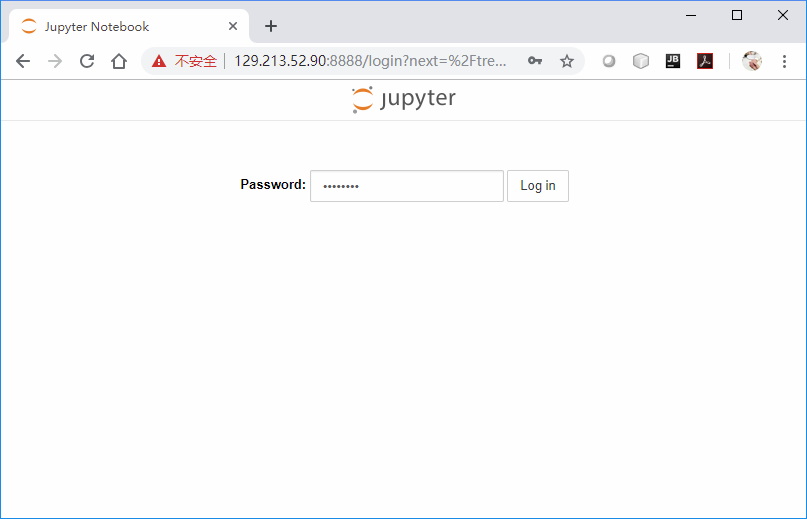
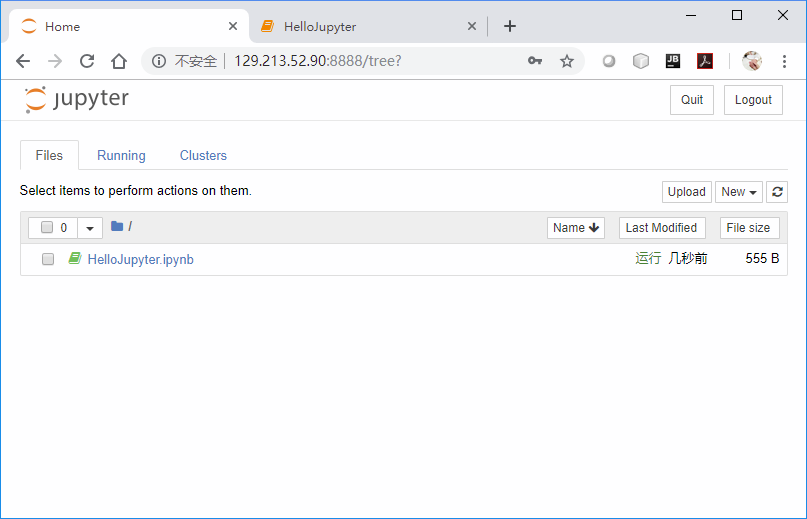
输入创建的密码登录 Jupyter Notebook 工作区:
- 创建虚拟 OCI VCN
版权声明
本文仅代表作者观点,不代表Code前端网立场。
本文系作者Code前端网发表,如需转载,请注明页面地址。
